The first Friday of every month, Diana Trout has a guest artist on her blog and today it’s me! For my guest appearance, I thought I’d revive a fun printing tutorial I did 2 years ago on printing quick backgrounds using an ice cube tray. Printing on paper was part 1. And even though I did a part 2, where I printed on fabric, I never posted it . . . until today!
I’m always on the lookout for interesting things to repurpose into printing tools, so I was pretty excited when I found these ice cube trays!

In this tutorial, I’ll show you how to use them to get nice, grungy backgrounds on fabric.
Materials:
- paint palette
- fabric paint
- sponge brush
- heart-shaped ice cube tray (I found this at Target!)
- paper or wax paper to protect your table
- pre-washed fabric
- masking tape or pins
- optional: padded fabric printing board

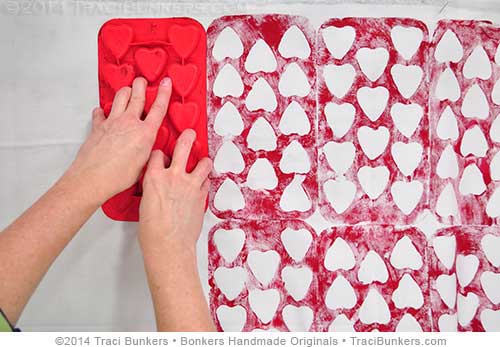
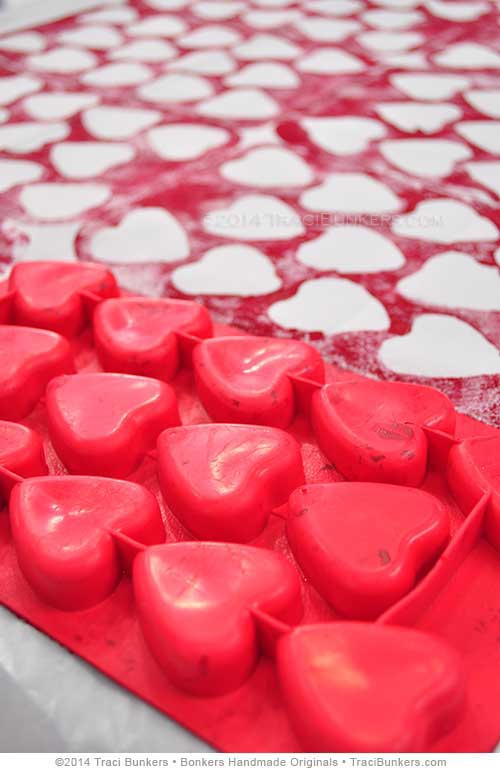
Step 1: With something protecting the table, place your fabric on the table or printing board. Tape or pin the edges to hold it in place. Squirt some fabric paint on your paint palette, and use the sponge brush to apply it to the top of the ice cube tray.

Step 2: Place the ice cube tray onto the fabric and push down with your fingers to print all of the flat areas. Be sure to get in between the hearts too.

Step 3: Add more paint, and print the next section. It can be printed the same direction as the first time, or rotate it 180 degrees to print it the opposite direction.

Step 4: Continue printing until the fabric is covered, or until you’ve printed the area of fabric on top of your printing board. Either shift the fabric over to print another section, or wait until it’s dry to shift it and continue.

Be sure to wash the sponge brush and clean off the ice cube tray. After the paint is dry and you’ve finished printing, you can do more printing and surface design on top of it.
Here’s a short video tutorial I made of me printing the ice cube tray on the fabric. If you can’t see this video, click here.
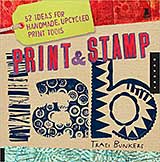
If you like this kind of printing, you’ll love my book Print & Stamp Lab. It has 52 different techniques for making your own alternative printing & stamping tools! If you’d like to get it signed, you can buy it from me. Or, you can get it from Amazon (but not autographed). This August, Print & Stamp kit will be available! It’s a new kit based on Print & Stamp Lab. It comes with a little booklet and materials to make some stamps.
This post may contain some affiliate links. Read my disclosure policy here.


So the booklet is not the same as the Lab book? I love that book … it influenced my work so so so much. Can’t even tell you how much. I look at ‘trash’ a whole different way. Thank you so much!
Melanie, I’m glad you got so much out of Print & Stamp Lab! The booklet in Print & Stamp Kit is much smaller than the book. I think it’s 32 pages. The projects that are in it are taken from the book. So if you already have the book, the only thing you would gain from it is the supplies that come with it.